Step 1
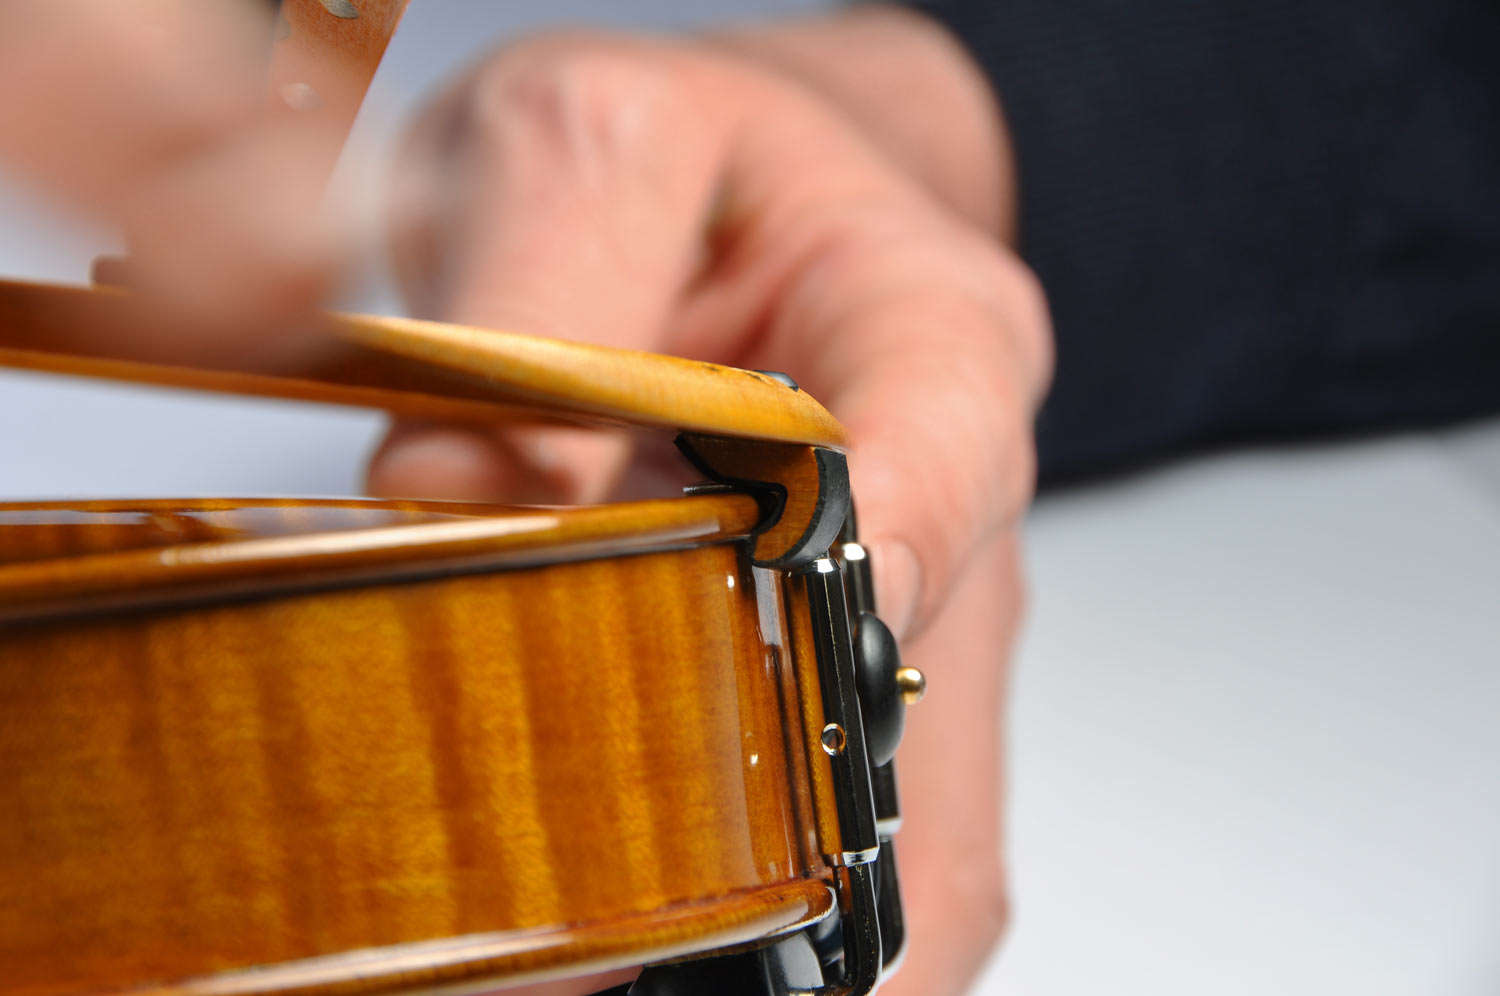
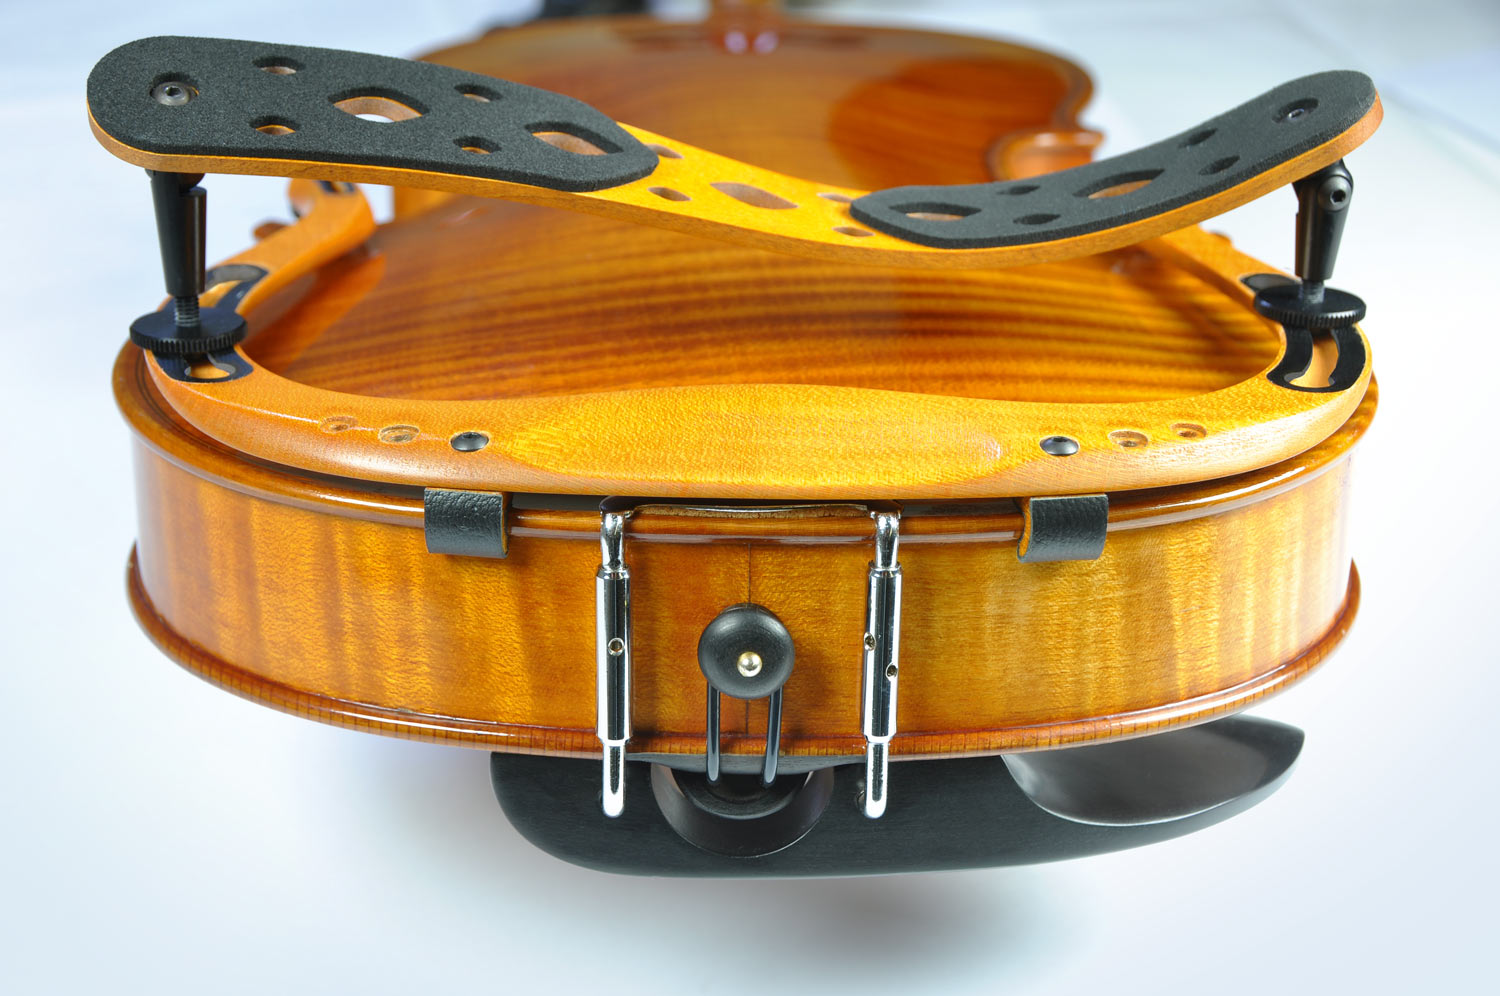
Position the wooden hooked feet onto the bottom edge of your violin.
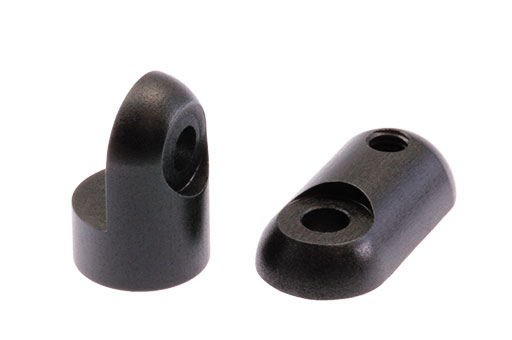
When using a side mounted chin rest either change the position of the hooked foot or use the aluminium foot with its matching Torx screw, found in the included accessories.
For further instructions about adjusting the hooked feet, please refer to the instruction manual.
Step 2
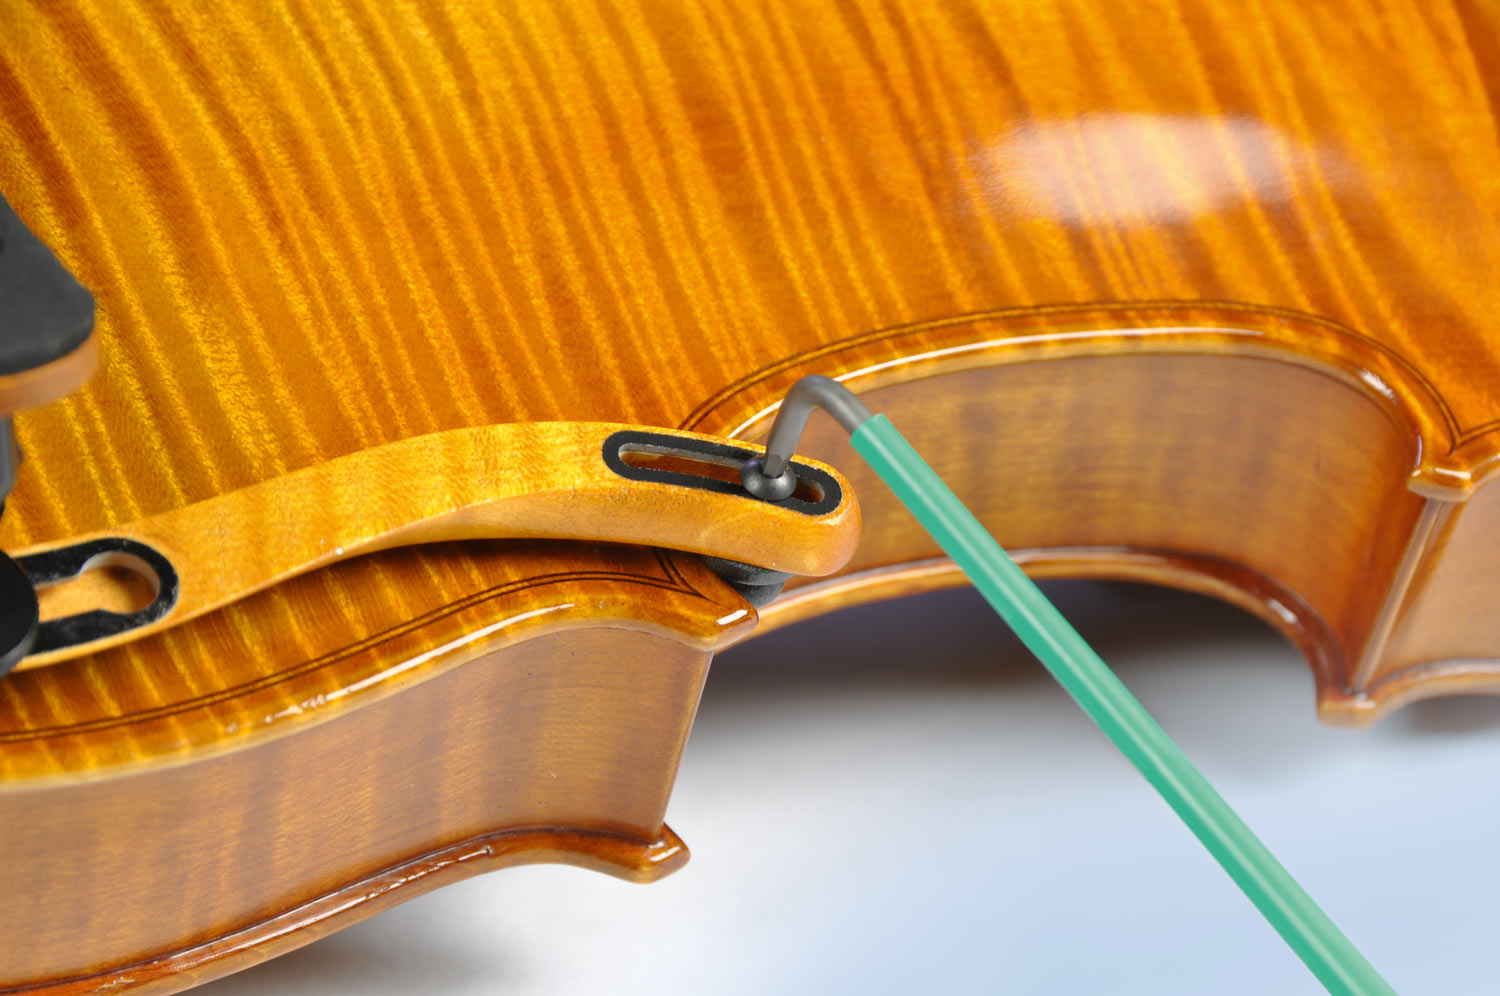
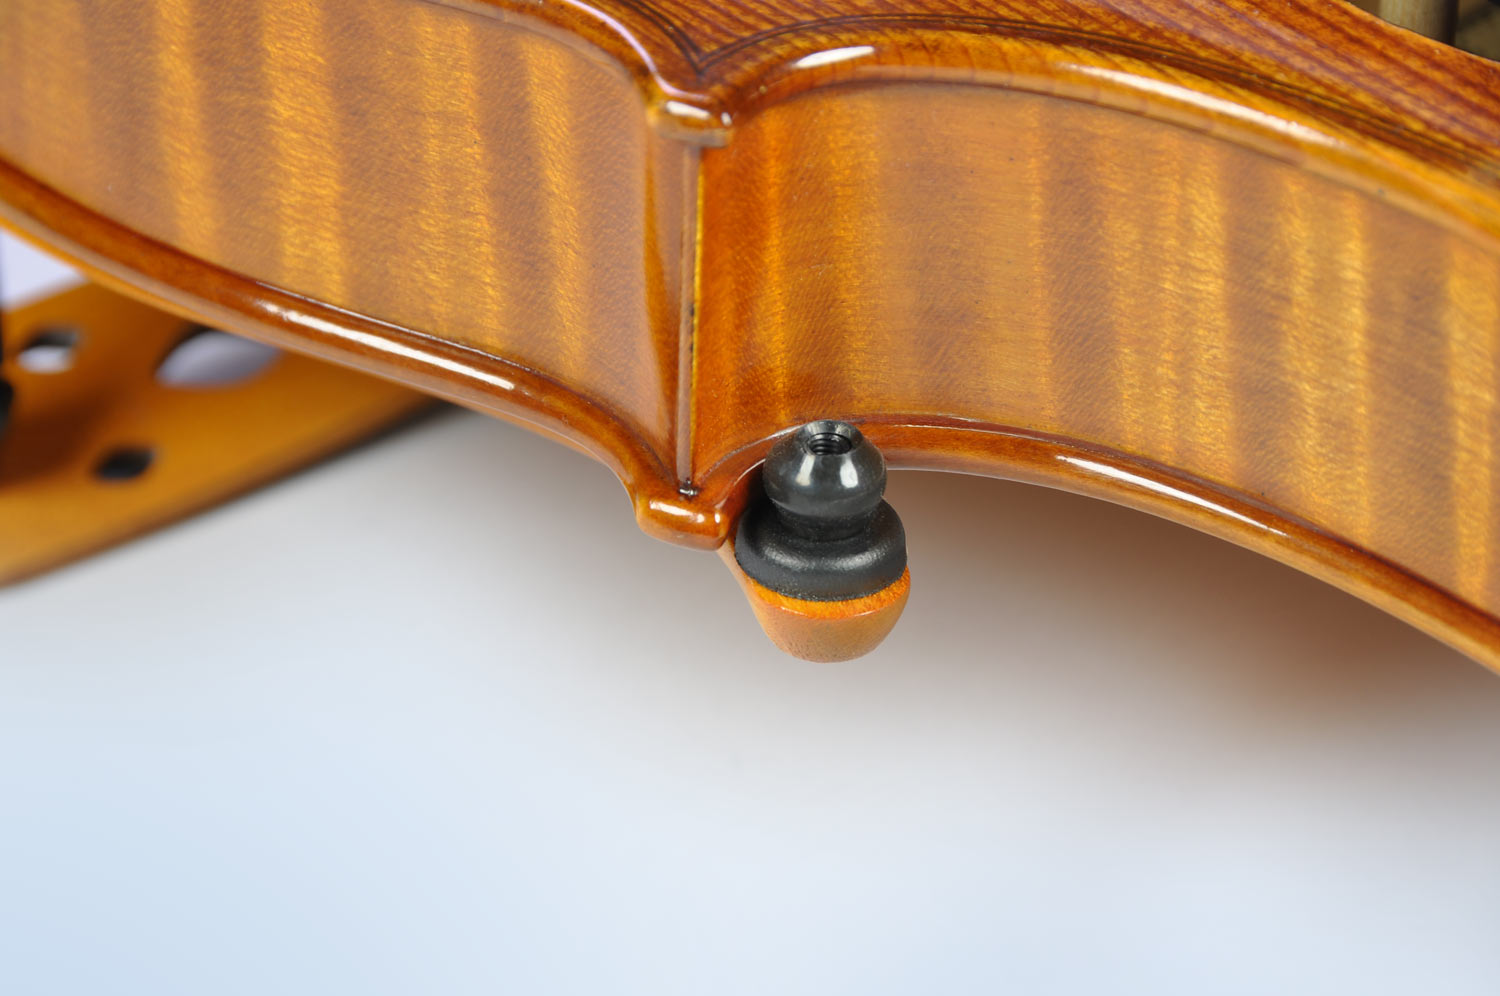
Using the key, carefully loosen the Torx screws of the ball feet so that they can be easily moved. Now slide them beyond the edge of the violin.
Step 3
After checking that the Cradle is positioned symmetrically on the violin, position the ball feet in such a way that they tightly hug the edge of the violin as shown and tighten the screws carefully.
Step 4
If the ball feet have been fitted tightly enough, you will hear a click when they are remounted onto the violin. Always attach the ball feet one by one.
Step 5
The shoulder rest has been set up to be comfortable for a wide range of players.
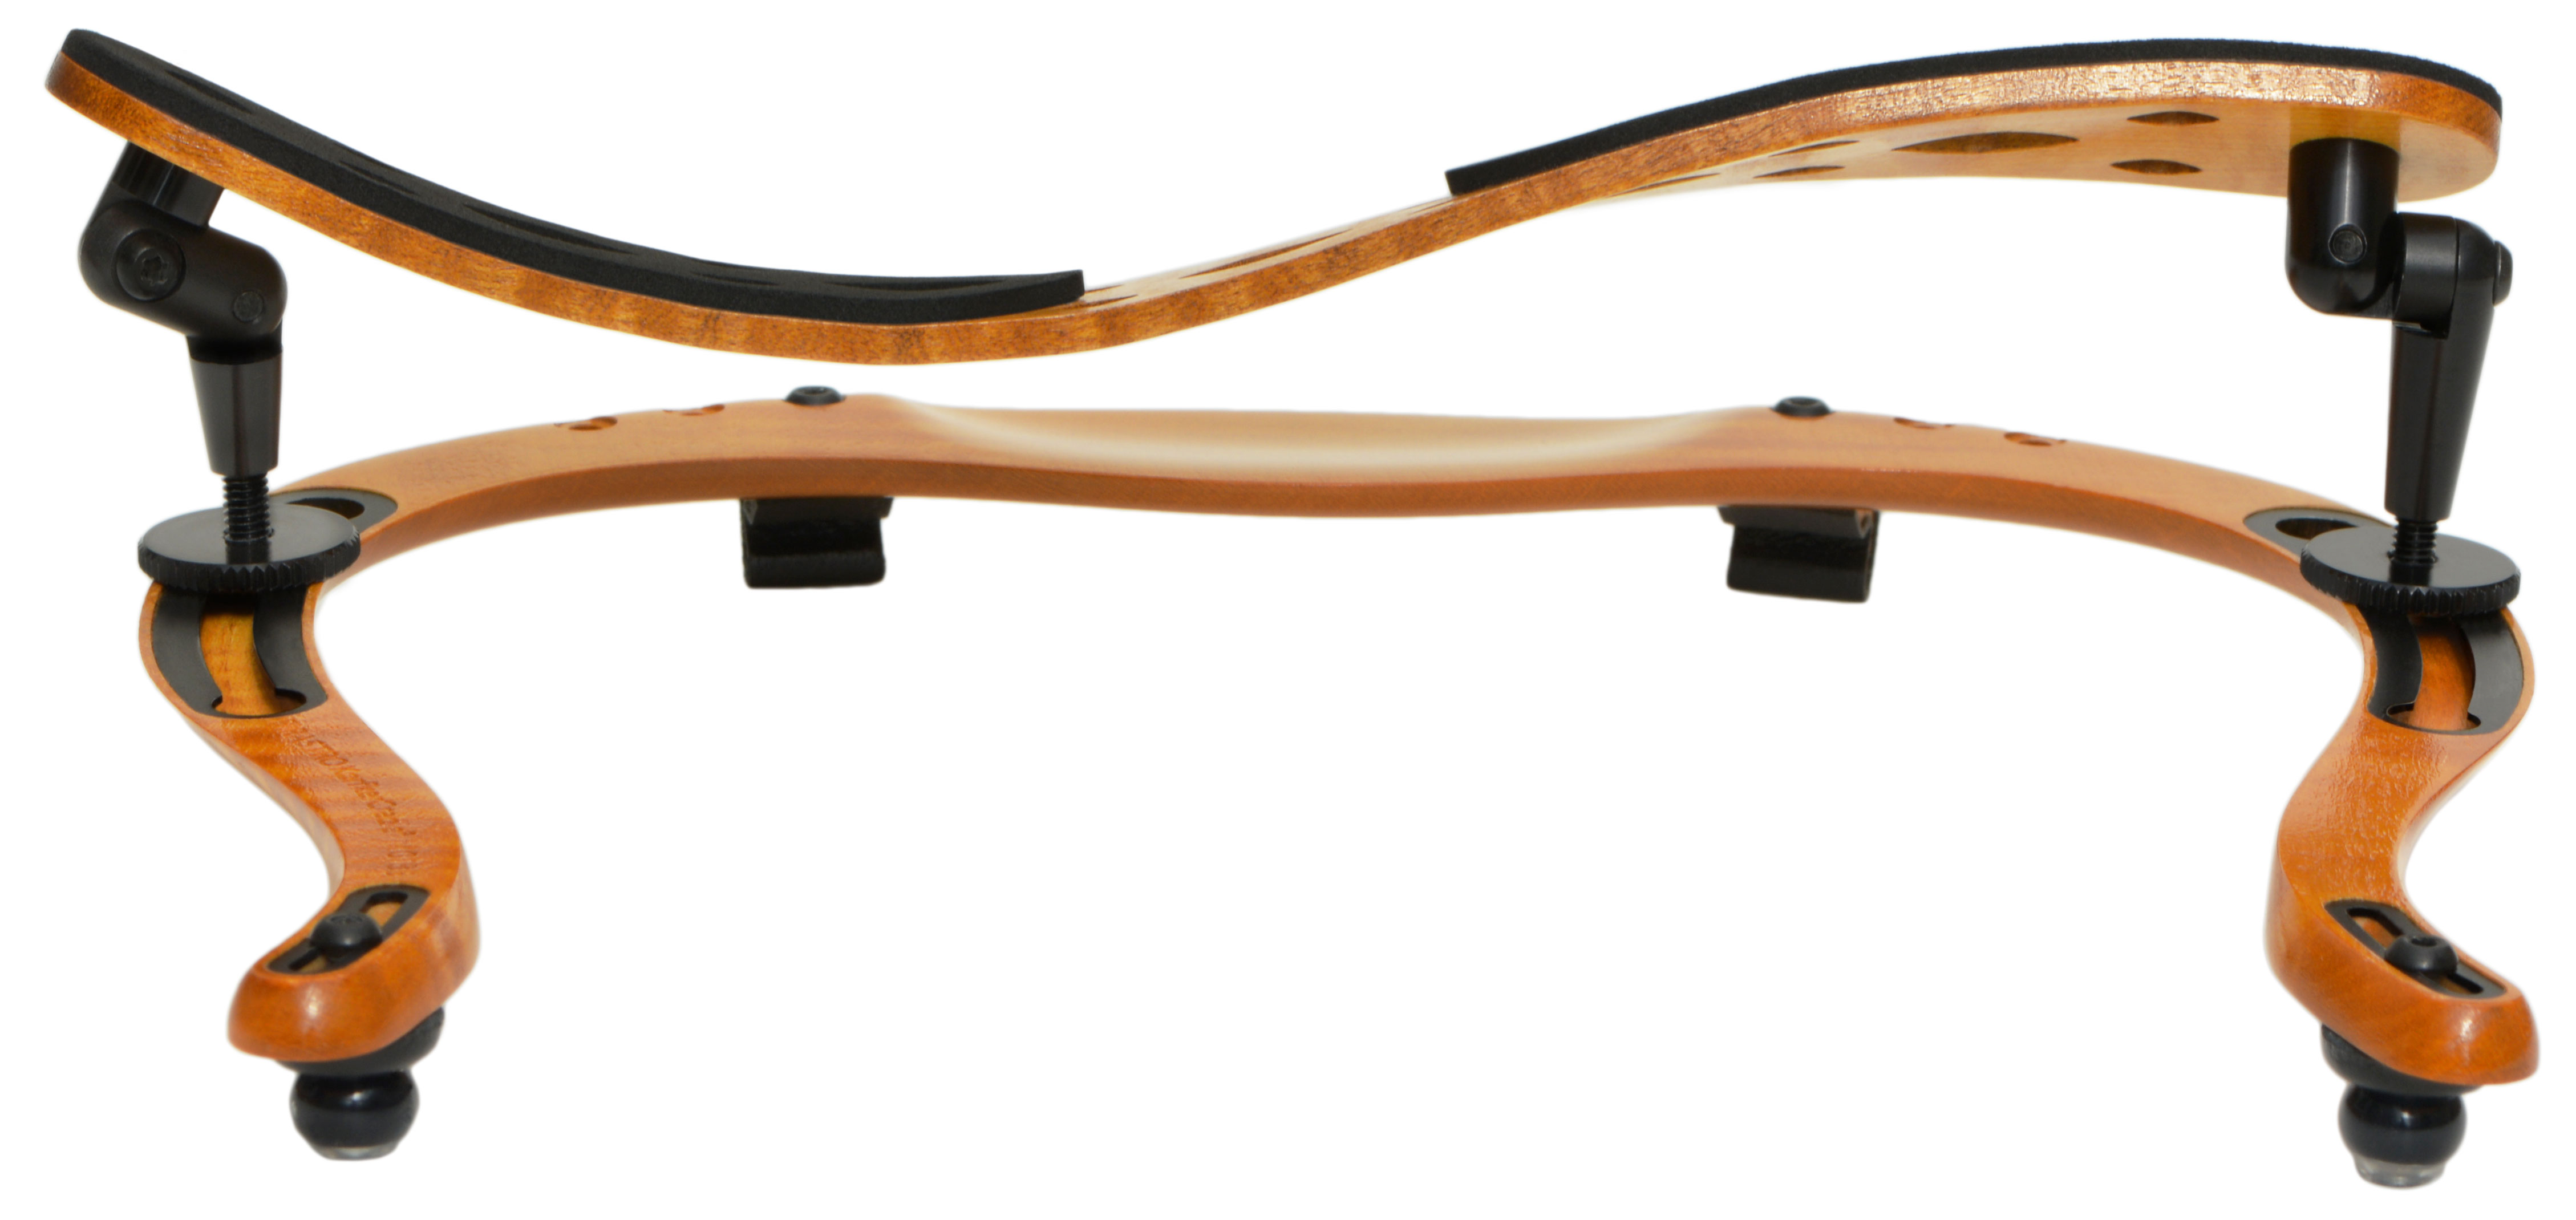
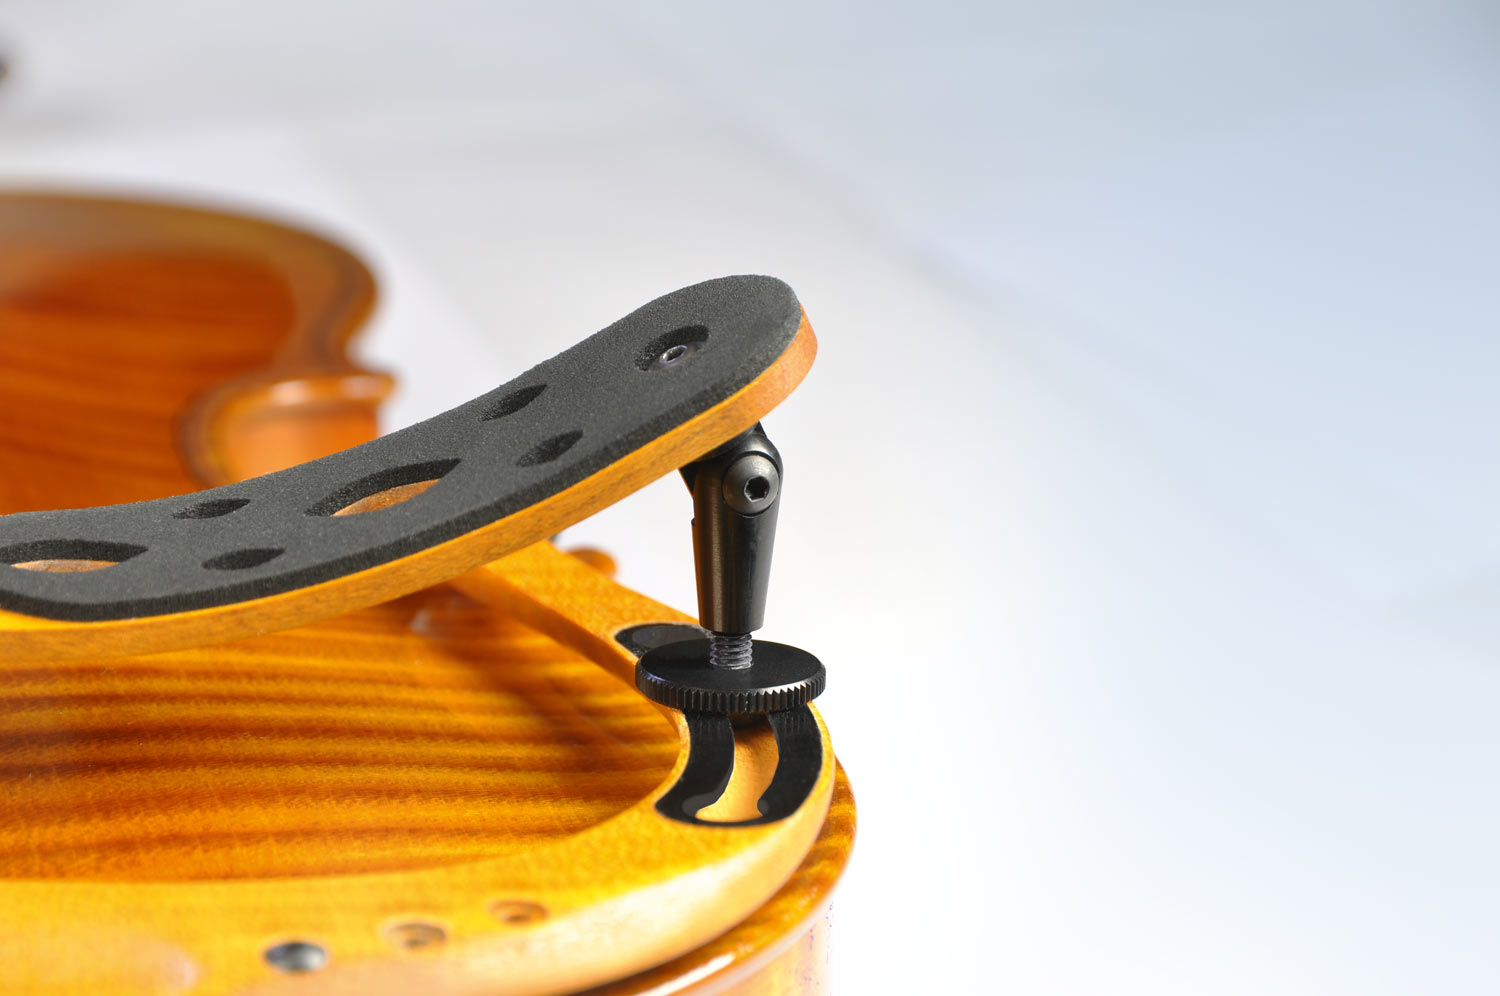
Simple adjustments can be made by loosening the two tightening discs and moving the shoulder rest legs to their desired position.
For further adjustments to the height, degree of tilt and shape of the shoulder rest, please refer to the instruction manual.
Attaching the PIRASTRO KorfkerCradle® to the violin
The PIRASTRO KorfkerCradle® has been designed to have a minimum amount of contact with the instrument and to eliminate the forces normally present when a shoulder rest is clamped onto a violin. The PIRASTRO KorfkerCradle® clicks onto the violin with two hooked feet and two ball feet. The distance between the hooked feet can be changed to accommodate various chin rests and the position of the ball feet can be adjusted to fit different models of full size violins.
To avoid damage you must not put the violin in the violin case while the PIRASTRO KorfkerCradle® is attached.
See the following video:
Video: Fitting the PIRASTRO KorfkerCradle®
Positions of the hooked feet
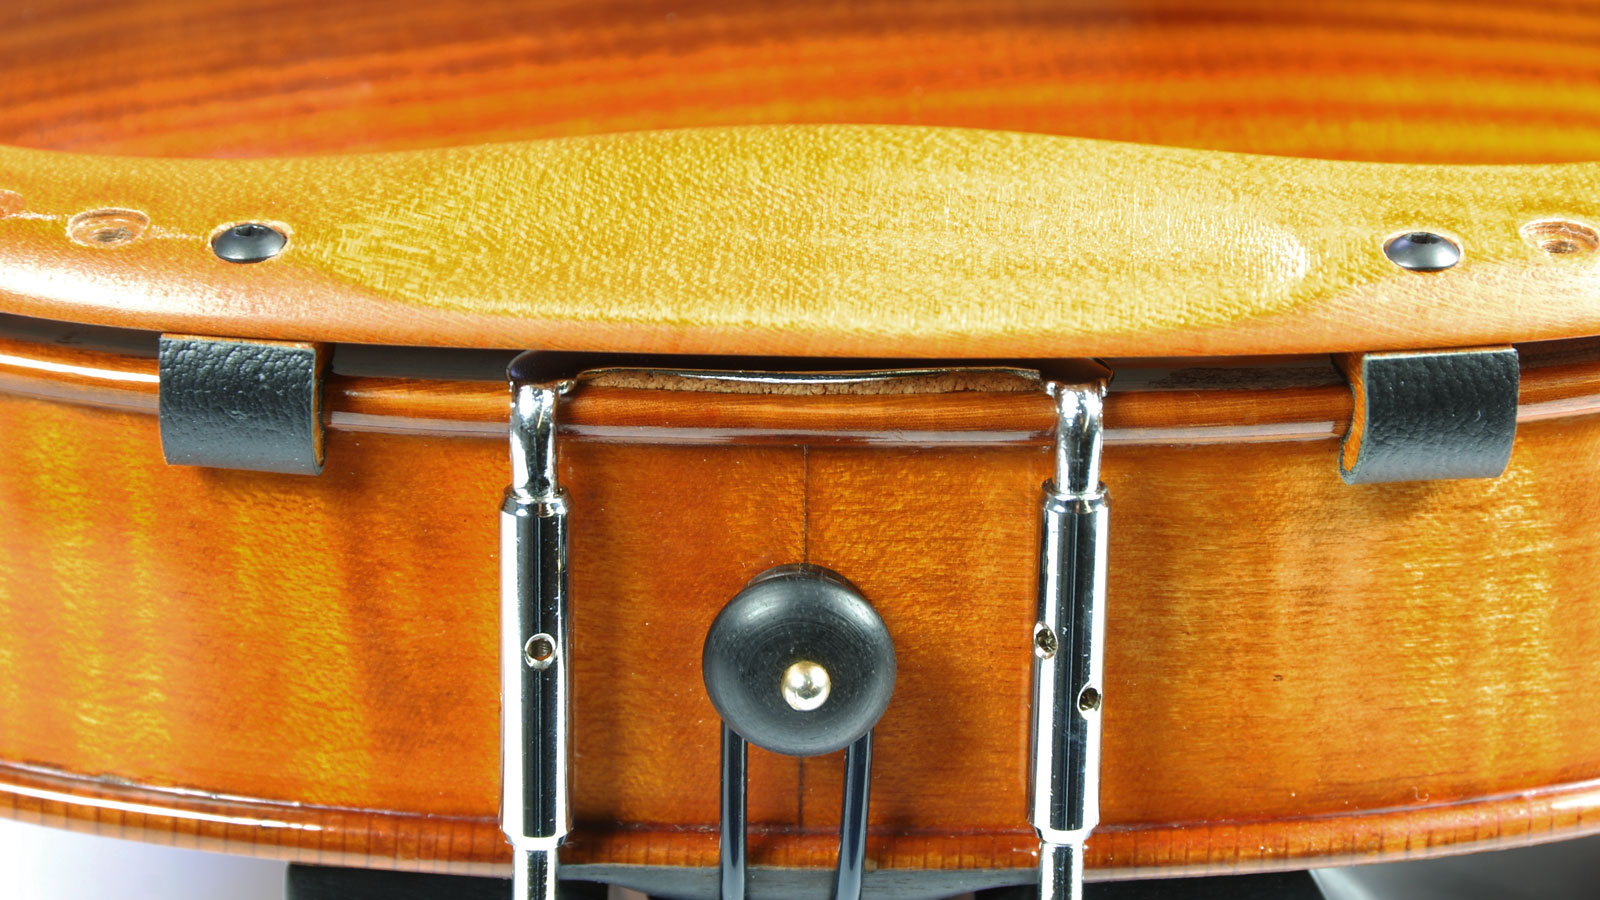
Each hooked foot has three possible positions. If the chin rest clamp is in the way of the left hooked foot, use the Torx key to move the hooked foot to a position where it will not touch the metal of the clamp.
Move the hooked foot on the right side to a position corresponding to that of the left hooked foot, so they are placed symmetrically. It is easiest to adjust the rest to a middle mounted chin rest.
Aluminium foot
If a side mounted chin rest is used, use the aluminum foot and its matching Torx screw found in the included accessories. Replace the wooden hooked foot with the aluminum foot choosing a position where it can hook around the bridge of the chin rest clamp and the edge of the violin. Attach the foot with its matching Torx screw using the Torx key.
Lining up the hooked feet
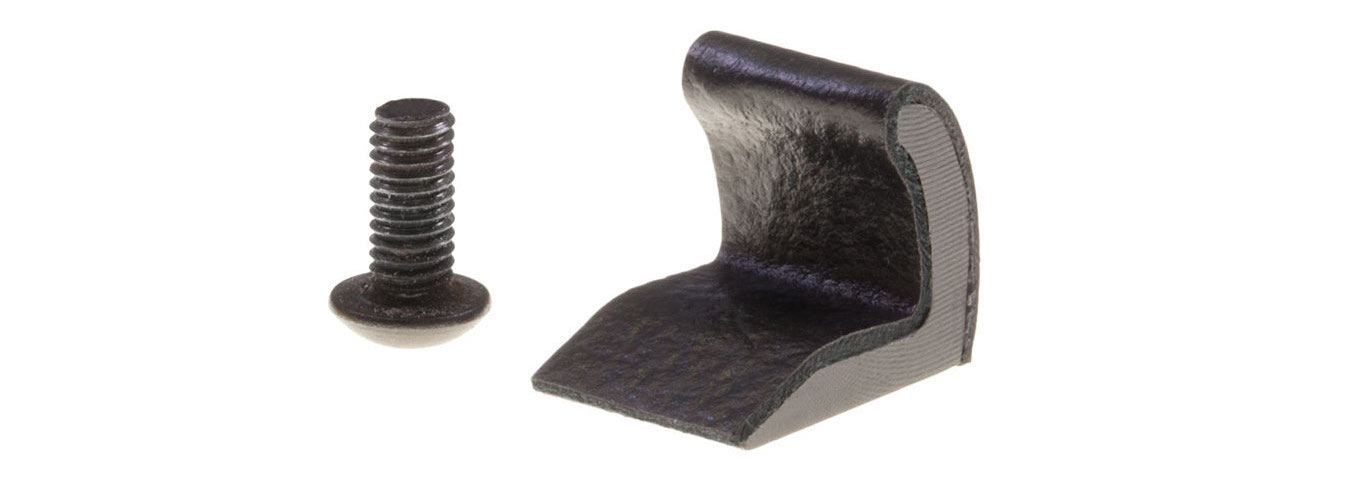
To ensure both hooked feet line up exactly along the edge of the violin, slightly loosen their Torx screws. Carefully press the hooked feet onto the violin and align them with the outline of the violin.

Tighten their Torx screws carefully. It may be necessary to readjust the ball feet afterwards to ensure a perfect fit for the Cradle.
See the following video:
Video: Fitting the Cradle
Adjusting the ball feet
Carefully loosen the Torx screws of the ball feet so they can easily be moved. With the violin upturned on your lap, place the hooked feet around the lower edge of the violin and the ball feet just beyond the corners of the violin. Check that the Cradle is symmetrically positioned on the violin.
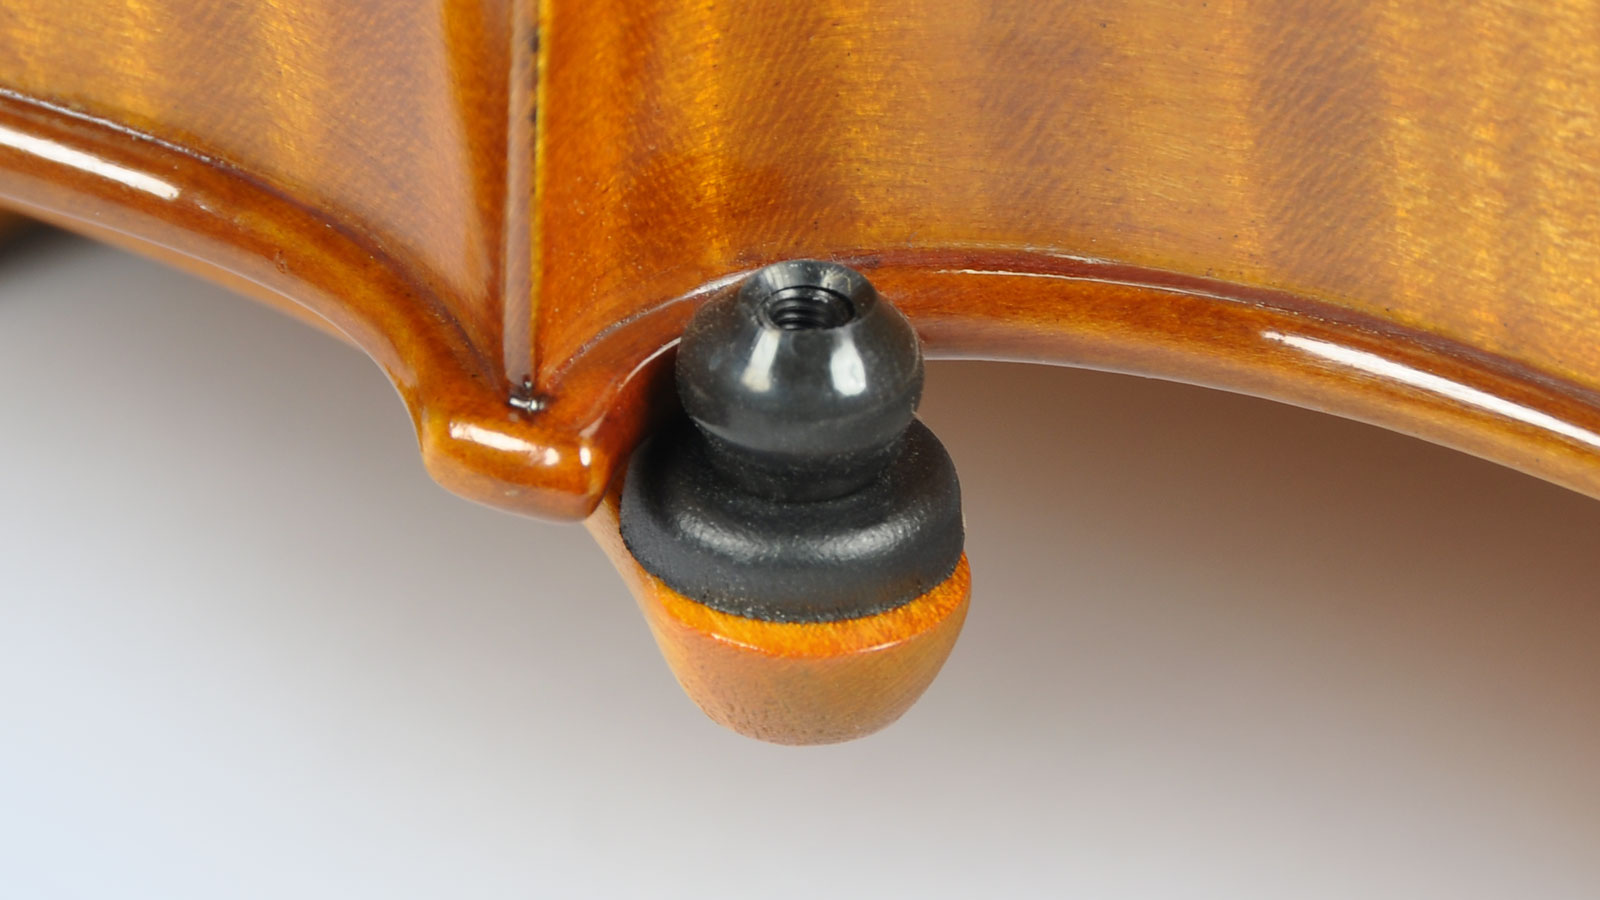
Hold one side of the Cradle in place by the hooked foot and the ball foot. Slide the leather disc of the ball foot towards the edge of the violin until they touch. Slightly squeeze the ball foot while tightening its Torx screw. Repeat this for the other side.
The Cradle should now be firmly attached to the violin.
See the following video:
Video: Fitting the Cradle
Attaching and removing the PIRASTRO KorfkerCradle®
To attach the PIRASTRO KorfkerCradle® to the violin, line it up symmetrically and carefully click the ball feet into place one by one. If the ball feet have been fitted tightly enough, you will hear a click when they are mounted onto the violin. If the PIRASTRO KorfkerCradle® is positioned symmetrically, both ball feet will encounter equal resistance from the edge of the violin. Practice this a few times.

Once it is attached to the instrument firmly, the PIRASTRO KorfkerCradle® will only come off if the ball feet are pulled away from the violin.
To remove the PIRASTRO KorfkerCradle® from the violin, press your thumb on the back of the violin and use the index finger to lift the ball feet away one by one.
See the following video:
Video: Fitting the Cradle
Attaching and removing the rest
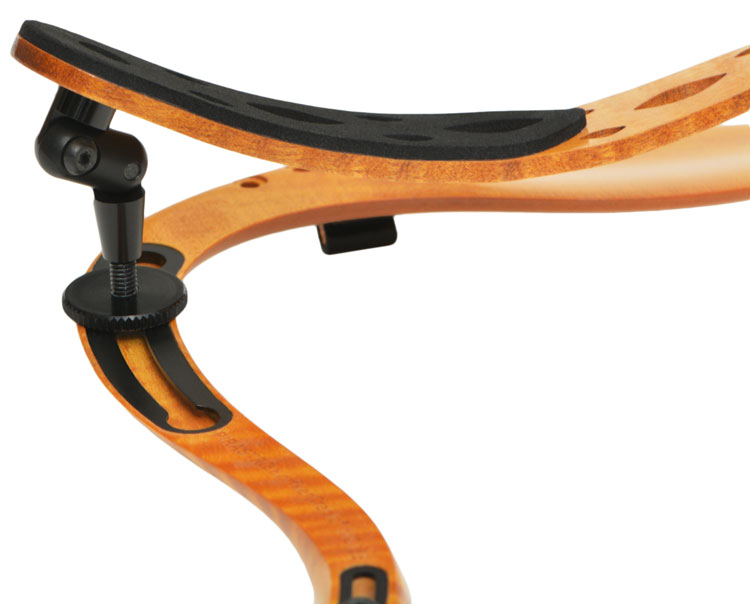
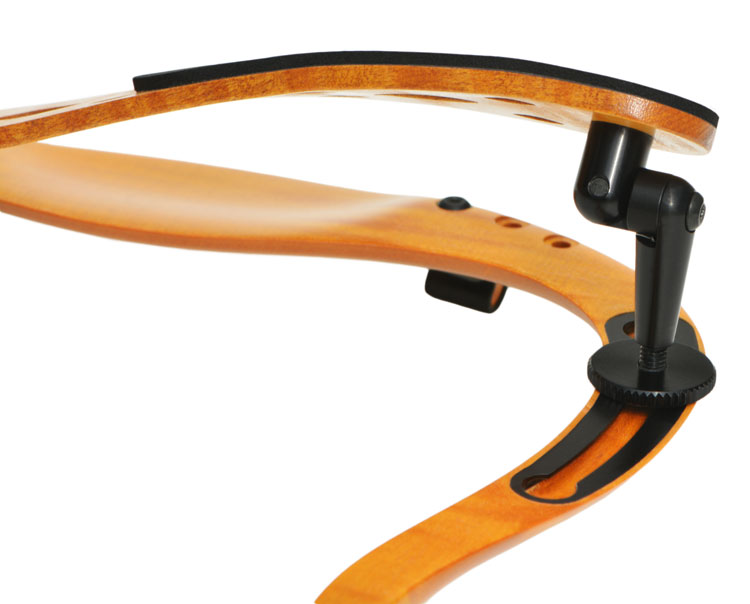
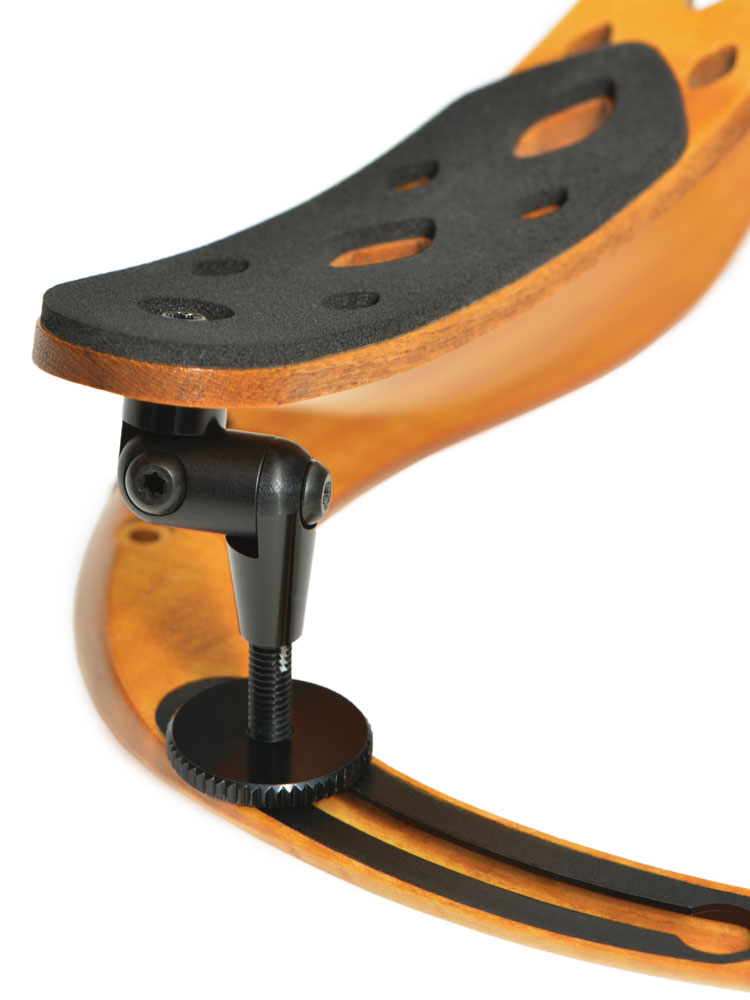
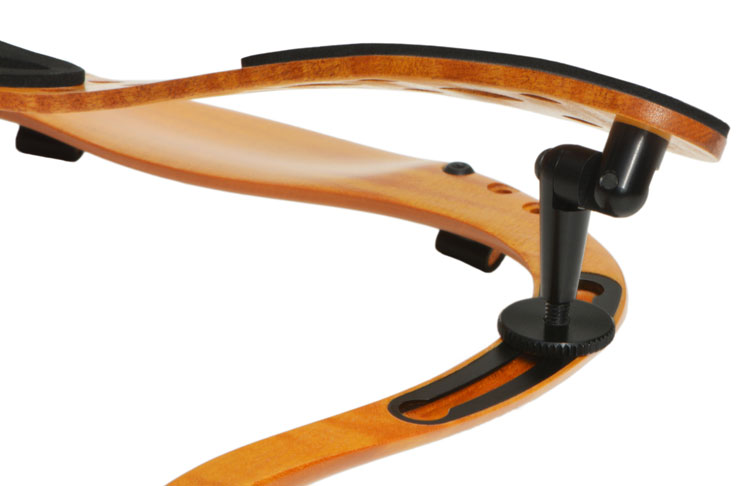
Before attaching the rest to the PIRASTRO KorfkerCradle®, please note that it has a short and a long leg. The short leg is for the shoulder side, the long leg is for the chest side. Each leg has an adjustment screw and a tightening disc attached to it. The PIRASTRO KorfkerCradle® has two black tracks, into which the adjustment screw head can slide. In order to attach the rest, start with the shoulder leg.
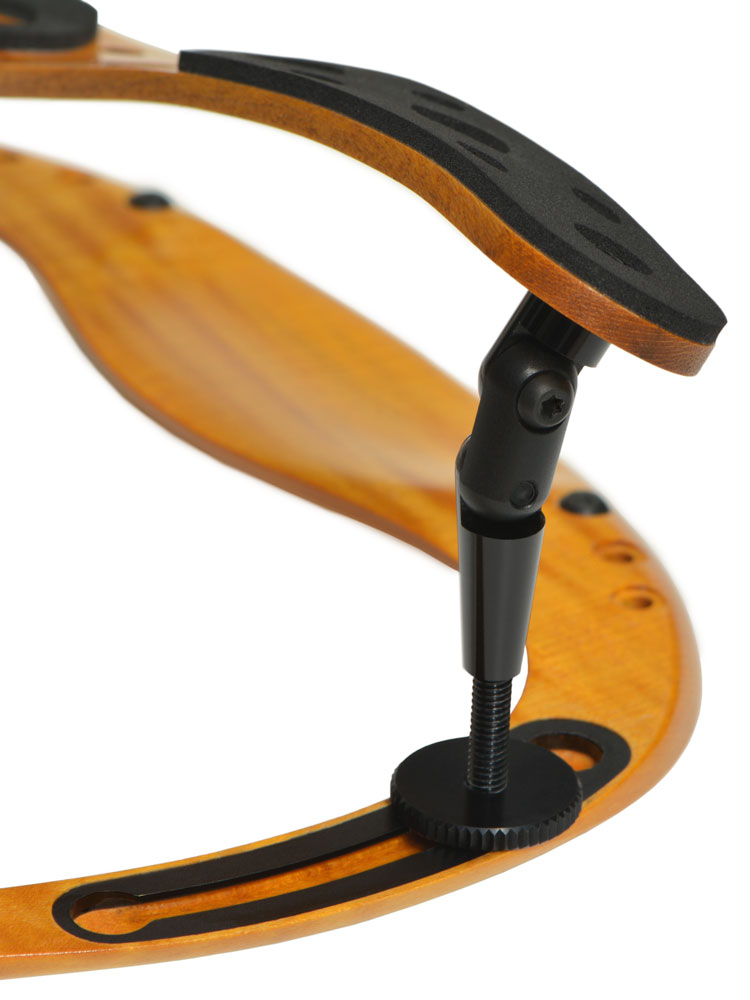
Unscrew the tightening disc until it sits almost half way up the thread of the adjustment screw. Slot the adjustment screw head inside the track and slide it into the desired position. Tighten the disc, attaching the leg securely to the PIRASTRO KorfkerCradle®. Repeat this procedure for the chest leg.
To remove the rest from the PIRASTRO KorfkerCradle®, simply loosen the two tightening discs, slide the heads of the adjustment screws one by one towards the ends of the tracks and pull them out gently.
See the following video:
Video: Attaching and removing
Adjusting the legs
HEIGHT
The height of the rest can be extensively adjusted. Remove the rest from the PIRASTRO KorfkerCradle® and rotate the adjustment screws either into or out of the legs to achieve the desired height.
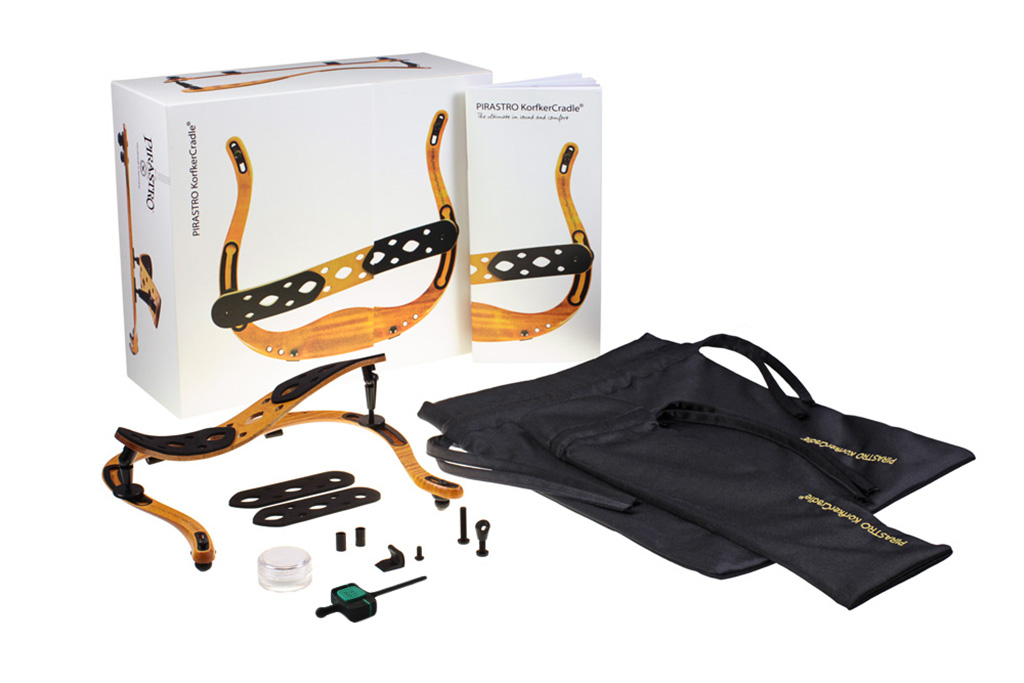
An extra high position on the shoulder can be achieved by exchanging the medium adjustment screw for the long one. If an extra low position on the shoulder is required, use the alternative extra short shoulder joint and adjustment screw. These alternative parts can be found among the accessories. In addition, the chest leg and shoulder leg can be exchanged to achieve a further variety of positions
See the following video from 1:00
TILT
The tilt of the shoulder rest can easily be adjusted. Attach the shoulder rest to the PIRASTRO KorfkerCradle® and slightly loosen all 4 of its Torx screws. Adjust the tilt, either by swivelling the rest or by rotating one or both of the legs. After deciding on the tilt, tighten all the screws.
See the following video:
Video: Changing the tilt
Bending the rest
The shoulder rest has been pre-bent to a shape that has proven to be comfortable for many players. Some players have found that over time the thin wood naturally adjusts to the shape of their shoulder. If a different shape is desired, remove the rest and carefully change its shape by bending.
WHEN BENDING KEEP THE FOLLOWING IN MIND:
• The fibres of the wood need time to adjust to a new shape, therefore always bend the rest slowly and carefully.
• The rest has a bending limit. By bending it slowly and carefully you will feel when it cannot bend any further. Do not force the wood to bend beyond this point.
• Please bear in mind that small adjustments can have a significant effect on comfort.
After changing the bend of the shoulder rest, loosen all the Torx screws in the legs. Slide the legs into their desired positions in the tracks and tighten the tightening discs. Now choose the desired tilt of the rest and tighten all the Torx screws.
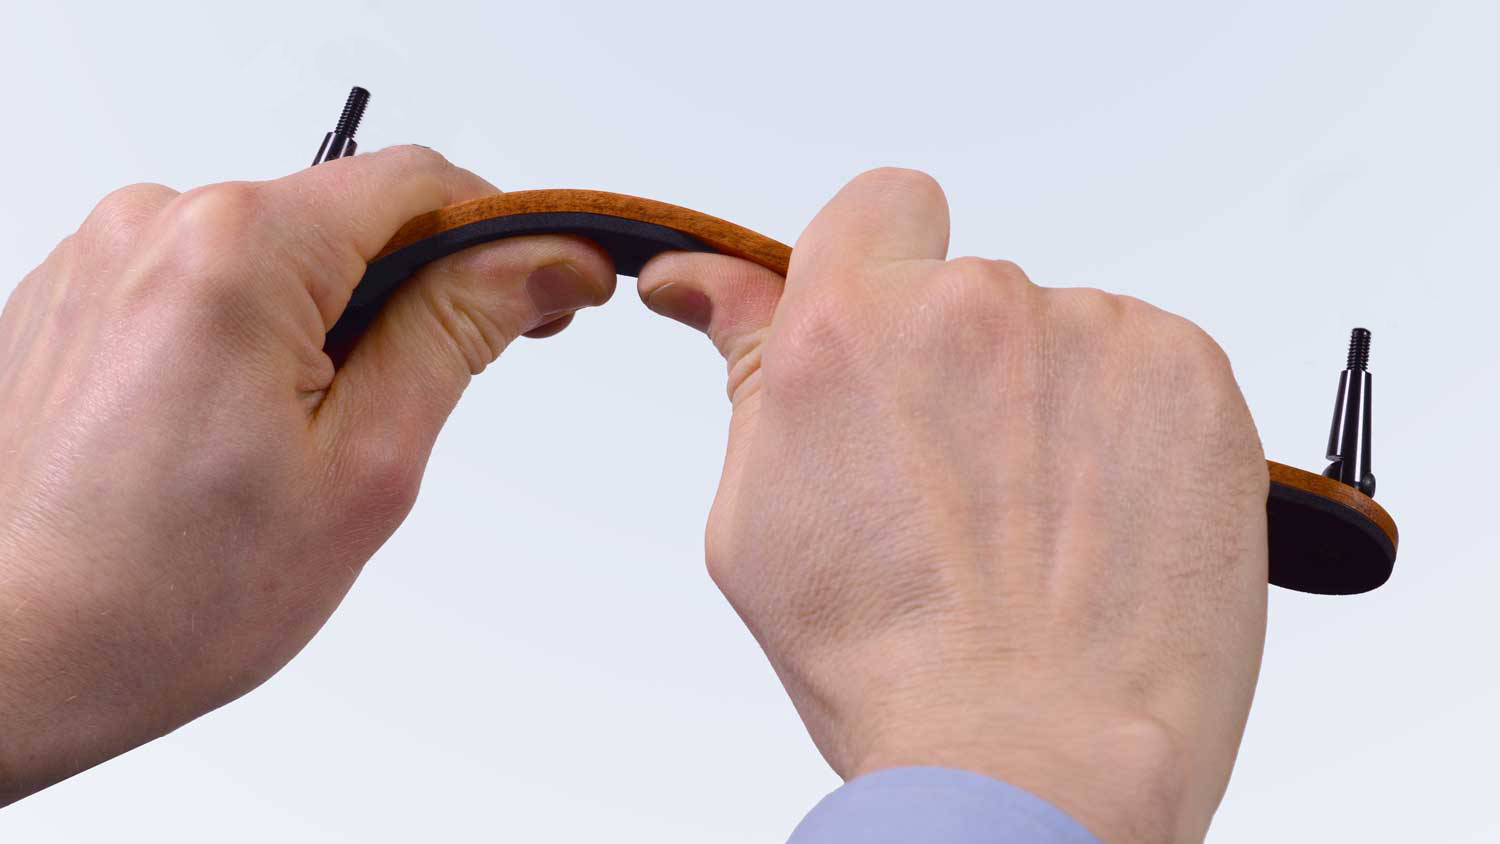
See the following video:
Video: Bending the rest
Replacing the rubber pads
When a rubber pad has worn out, it can be peeled off using the finger lift under the tip of the pad. Peel the backing off one of the replacement rubber pads included with your PIRASTRO KorfkerCradle®. Start by aligning the round hole exactly around the Torx flange screw, then align the eyes in the rubber with the eyes in the wood.
Aligning the eyes might require slight stretching or compressing of the rubber, depending on how strongly the rest has been bent. Before using, press the whole rubber pad strongly onto the wood, starting at the edges.
See the following video:
Video: Replacing the pads
156709735, 156709587, 156709442, 156709888, 147324445, 147316426, 146761630
Varnish
The PIRASTRO KorfkerCradle® has been finished with a high quality, durable varnish. Nevertheless, to ensure the longest lifespan of the varnish, use the bags to protect the rest and cradle when they are stowed away from the violin.
Clean the PIRASTRO KorfkerCradle® and rest with a dry dusting cloth if necessary. Do not use alcohol based cleaning solutions as they will seriously damage the varnish.
Silicon tubes
Once in a while, check the silicon of the ball feet. If it is ripped or worn, replace it with one of the new silicon tubes included in the accessories.
Leather discs
After extended use the leather discs of the ball feet may become worn where they touch the violin. To line up a fresh area of leather, slightly loosen the Torx screw holding the disc and ball foot in place and rotate the disc to a suitable position before tightening the Torx screw.
In some weather conditions and in combination with some types of violin varnish, the leather of the leather discs might make a squeaking noise during use. Use a cotton bud to spread a very small amount of lubrication powder onto the leather where it touches the violin. This powder can also be applied to the leather of the hooked feet.
Hooked feet
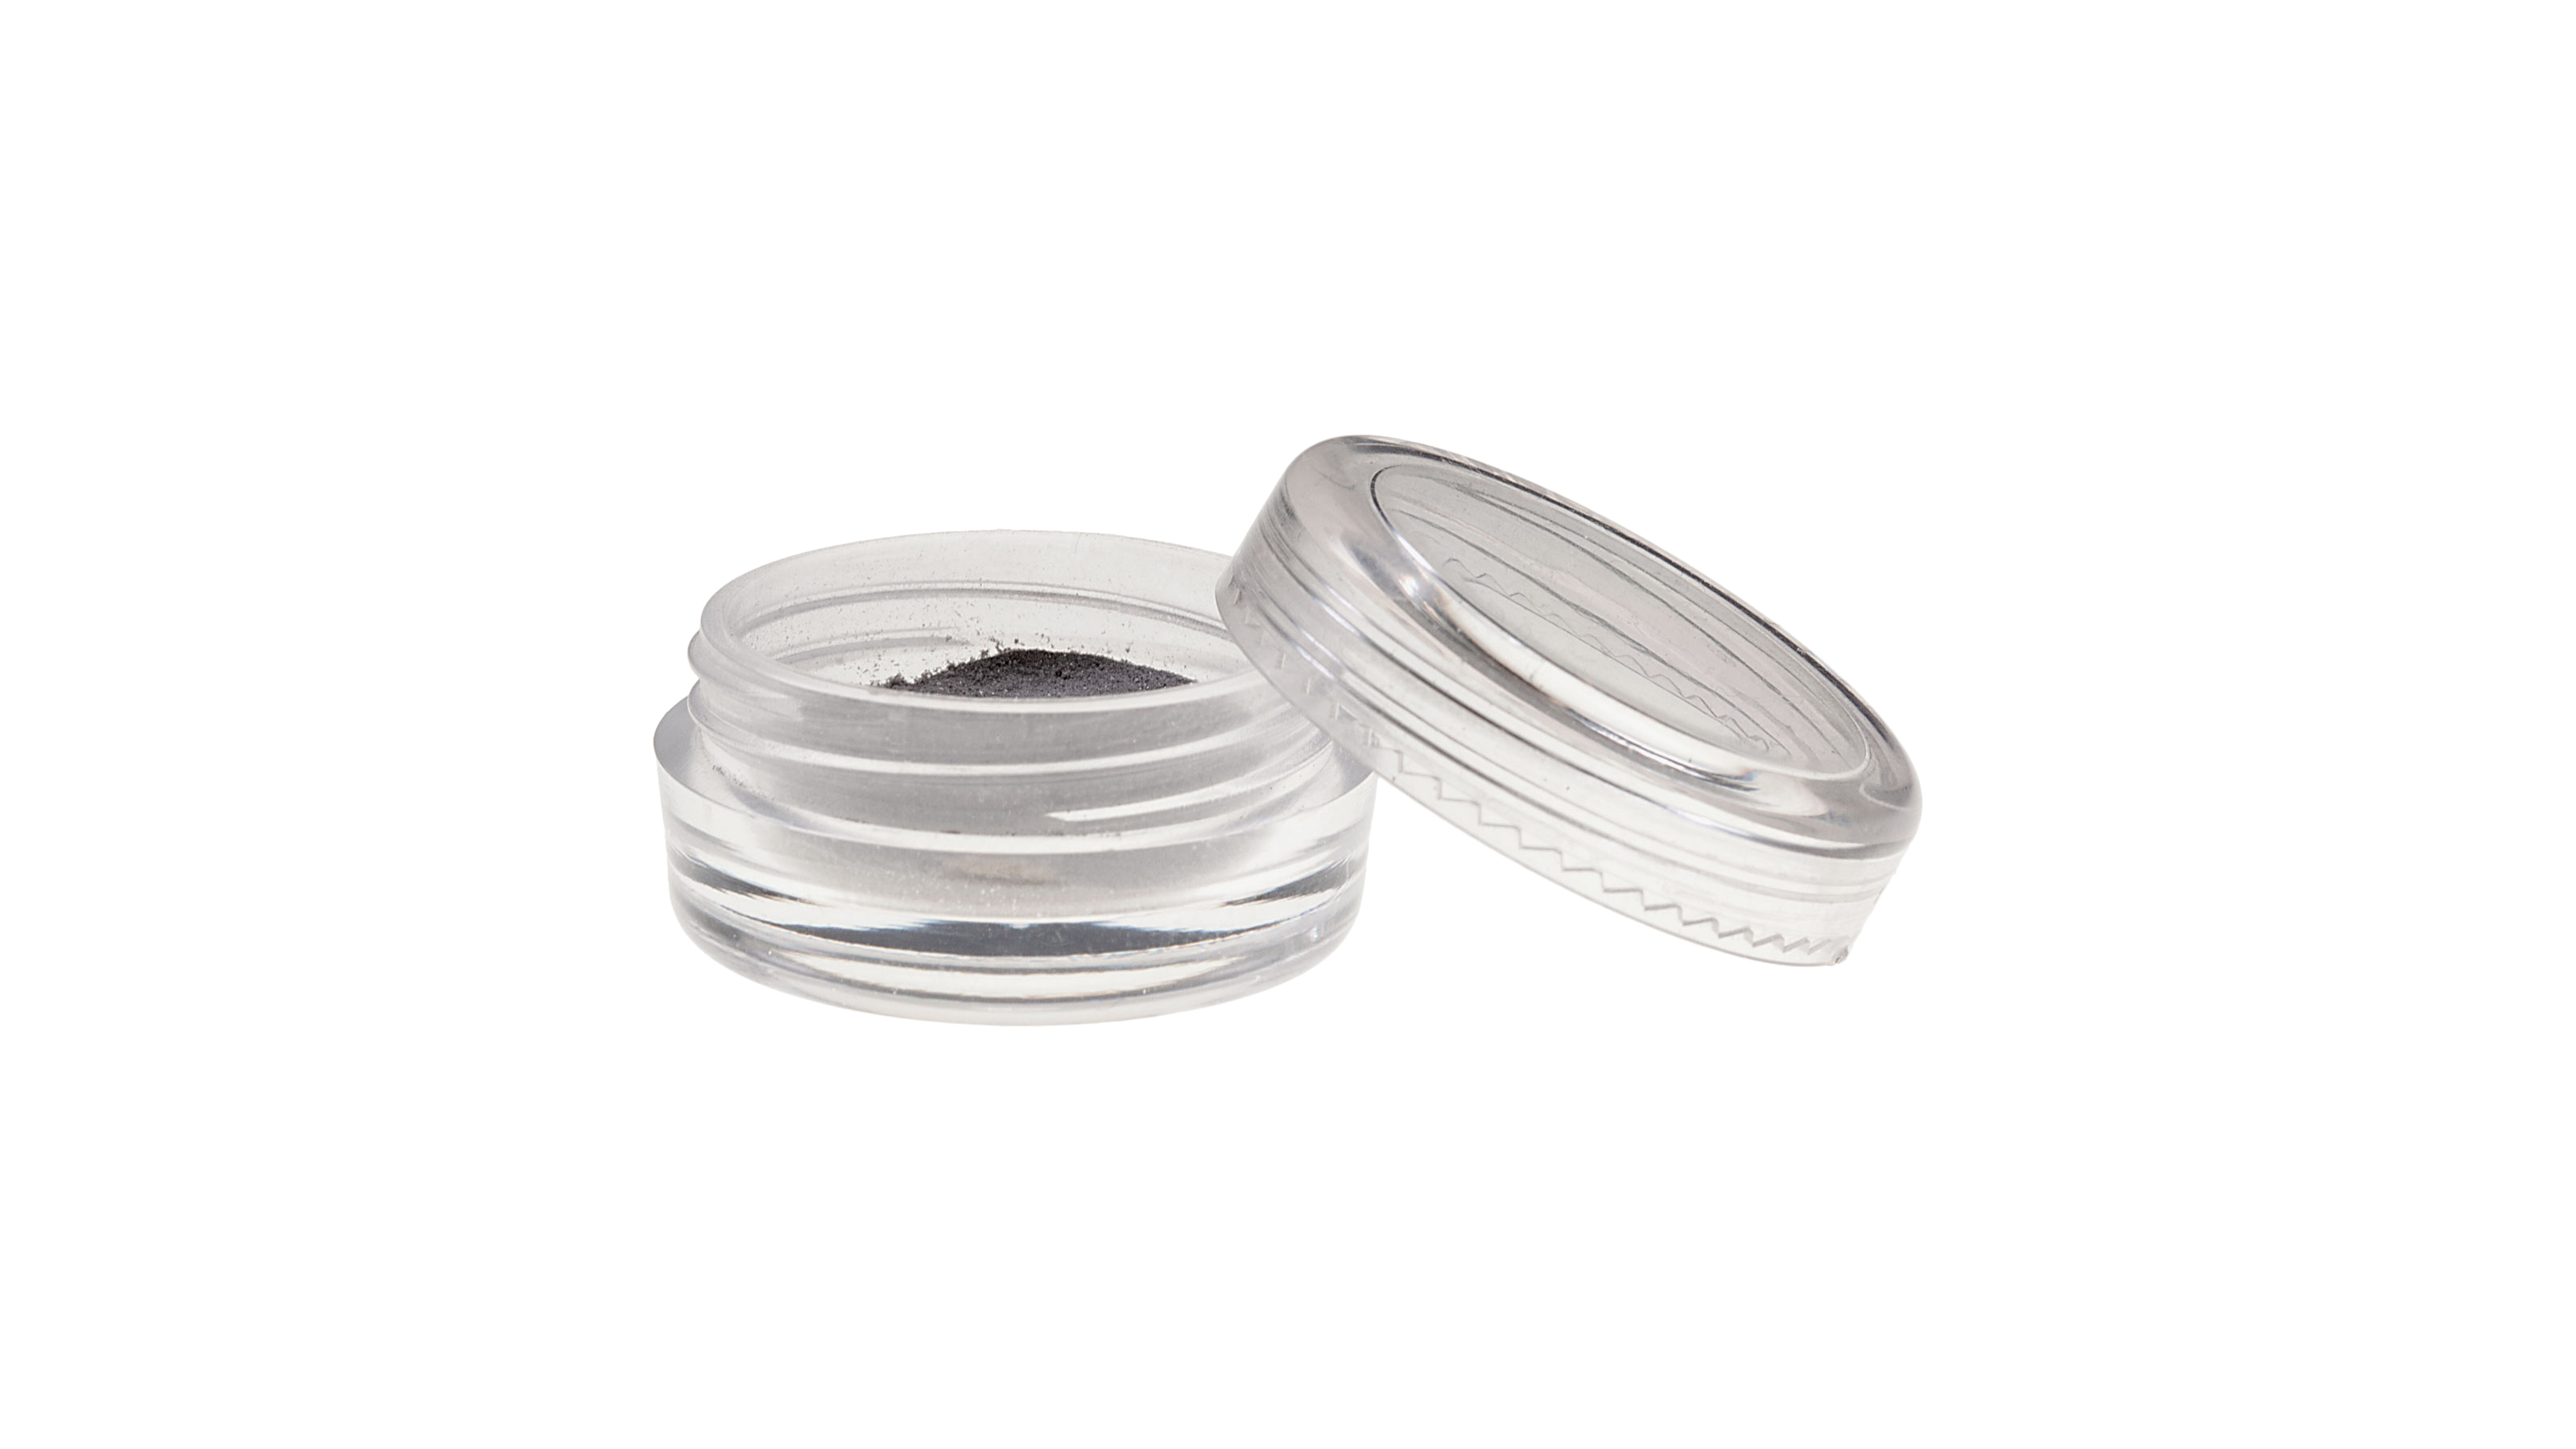
In some weather conditions and in combination with some types of violin varnish, the leather of the hooked feet might make a squeaking noise during use. Use a cotton bud to spread a very small amount of lubrication powder onto the leather where it touches the violin. This powder can also be applied to the leather discs of the ball feet.
If the leather on the hooked feet wears out and the wood becomes exposed, a set of replacement feet can be purchased.
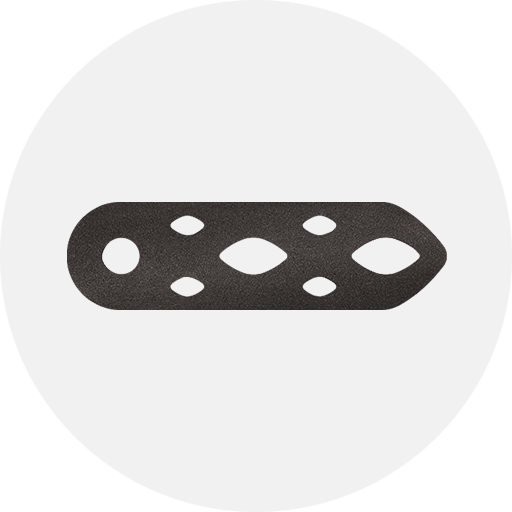
Rubber pad
PIRASTRO KorfkerCradle®
Art.-Nr. 701080
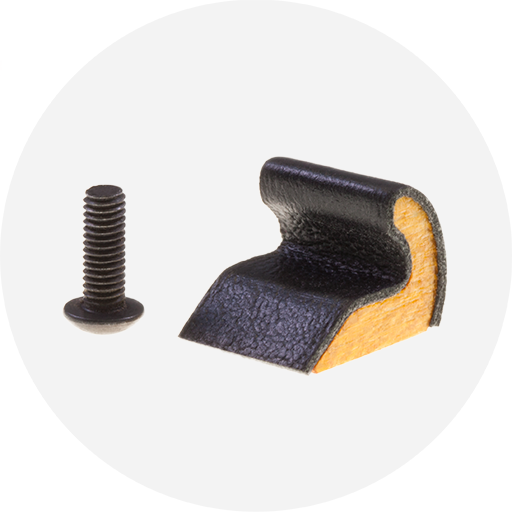
Hooked foot
leather-covered
Art.-Nr. 701010
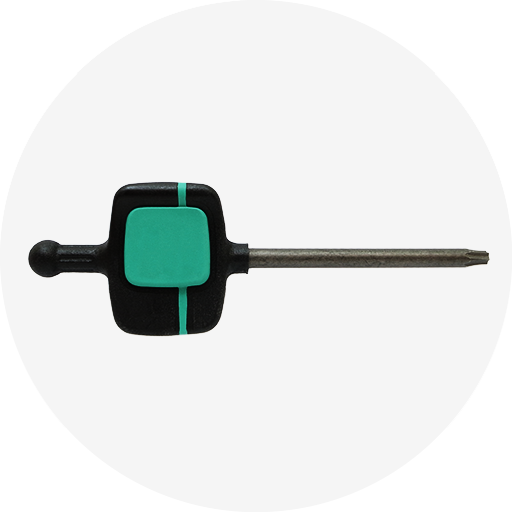
Torx key
PIRASTRO KorfkerCradle®
Art.-Nr. 701083
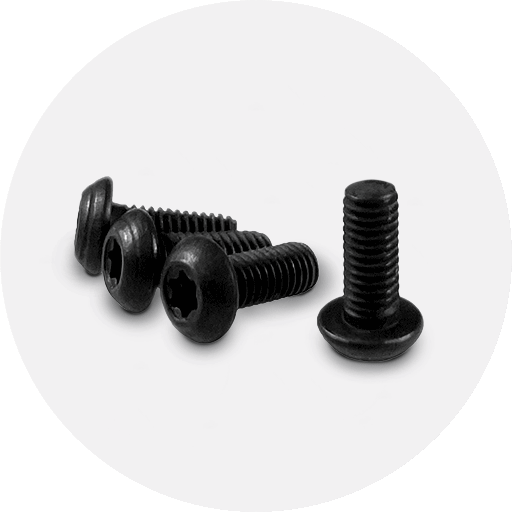
Torx screw, 4 pcs.
PIRASTRO KorfkerRest®
Art. No. 701086
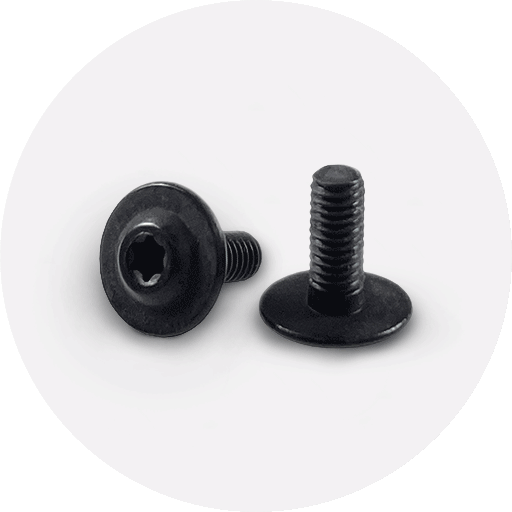 Torx flange screw, 2 pcs.
PIRASTRO KorfkerRest®
Art. No. 701087
Expand your possibilities of the PIRASTRO KorfkerCradle® by using the ErgoPack
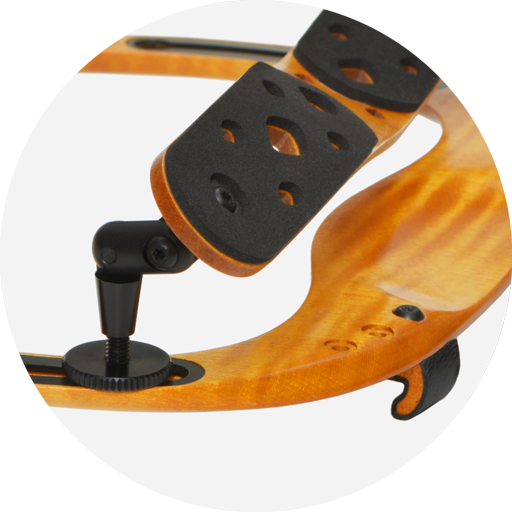
Closer to the Player
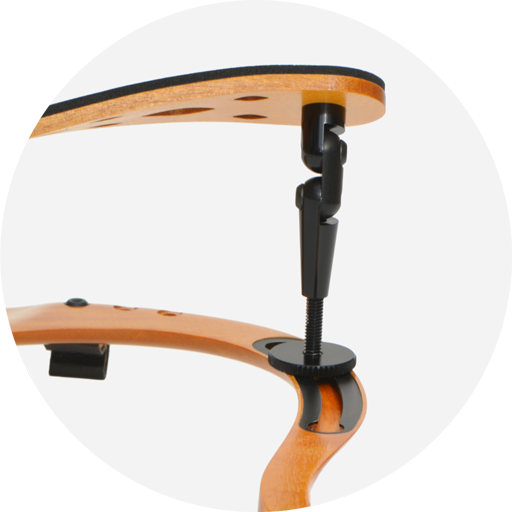 Extra high and closer to shoulder
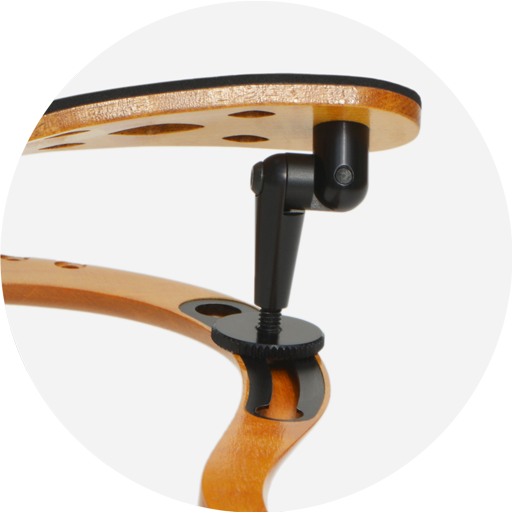 Violin lower on chest
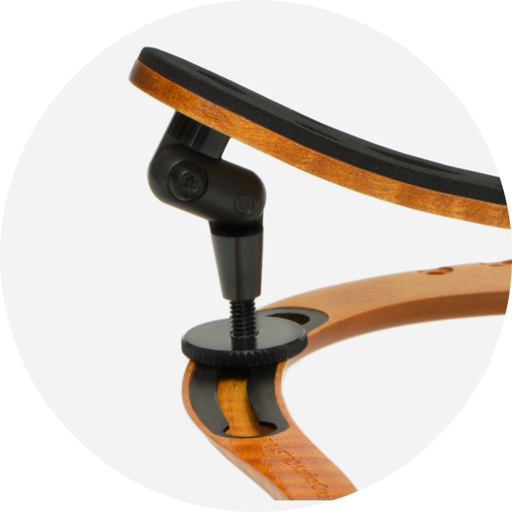 Higher on shoulder
Closer to the player
This adjustment positions the rest closer to the player. The adjustments to the chest and shoulder leg can be made individually.
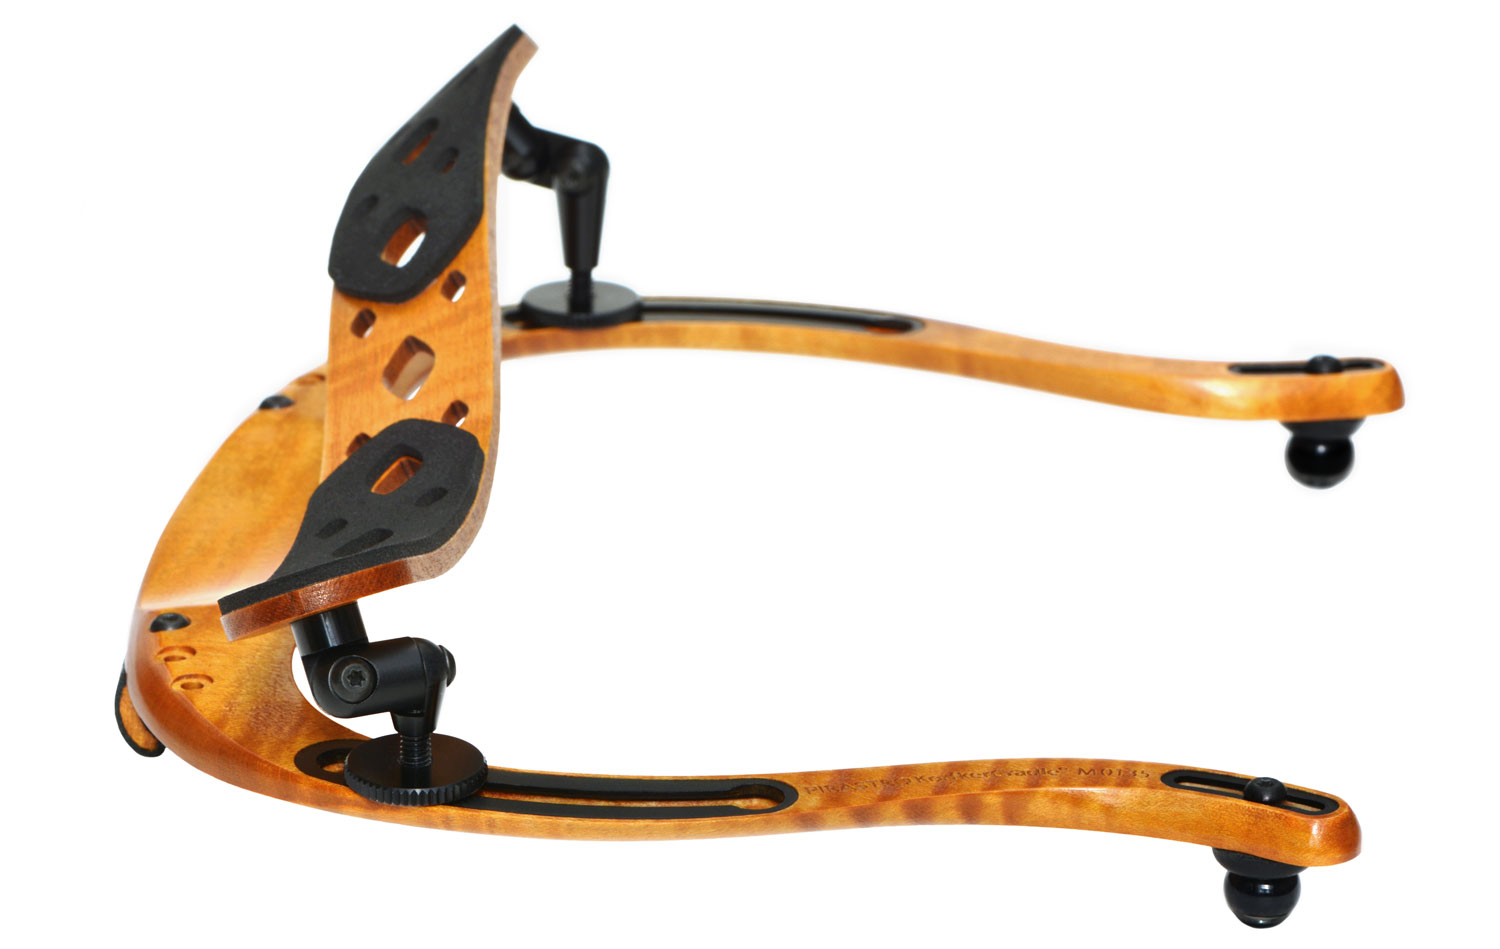
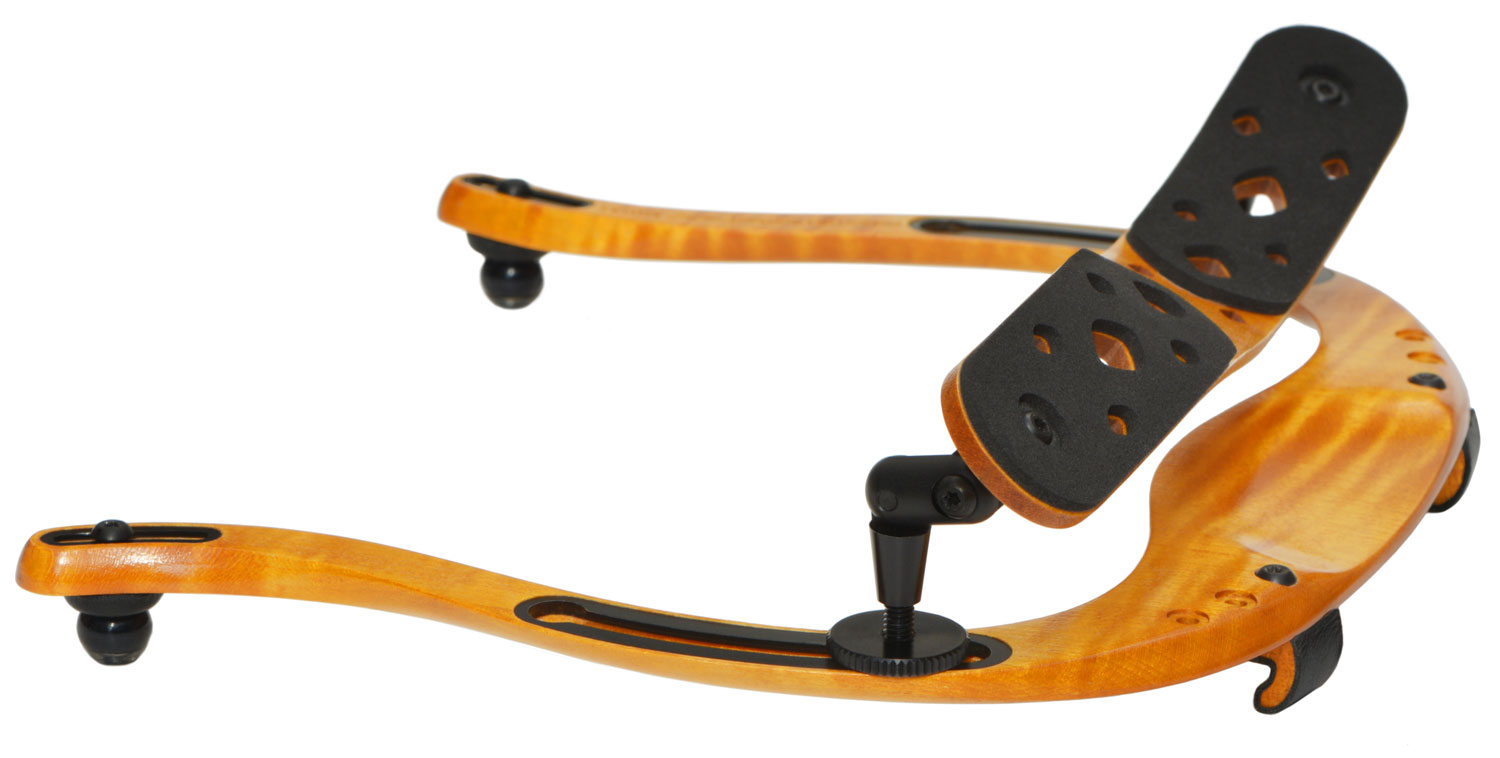
Extra high and/or closer to the shoulder
This adjustment positions the violin higher on the chest side and/or if desired closer to the player on the shoulder side.
Both adjustments can be made individually.
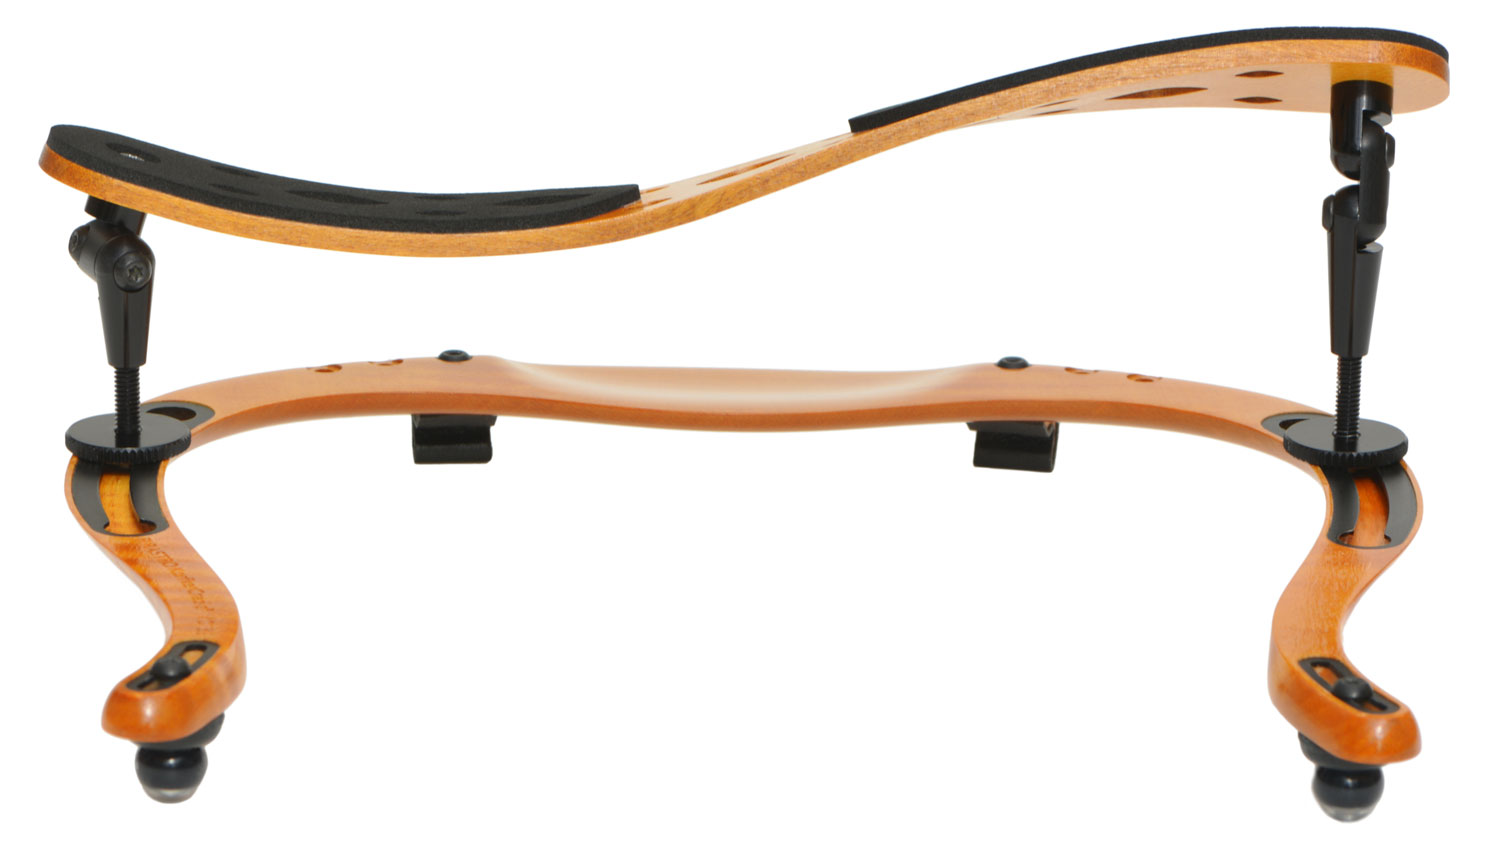
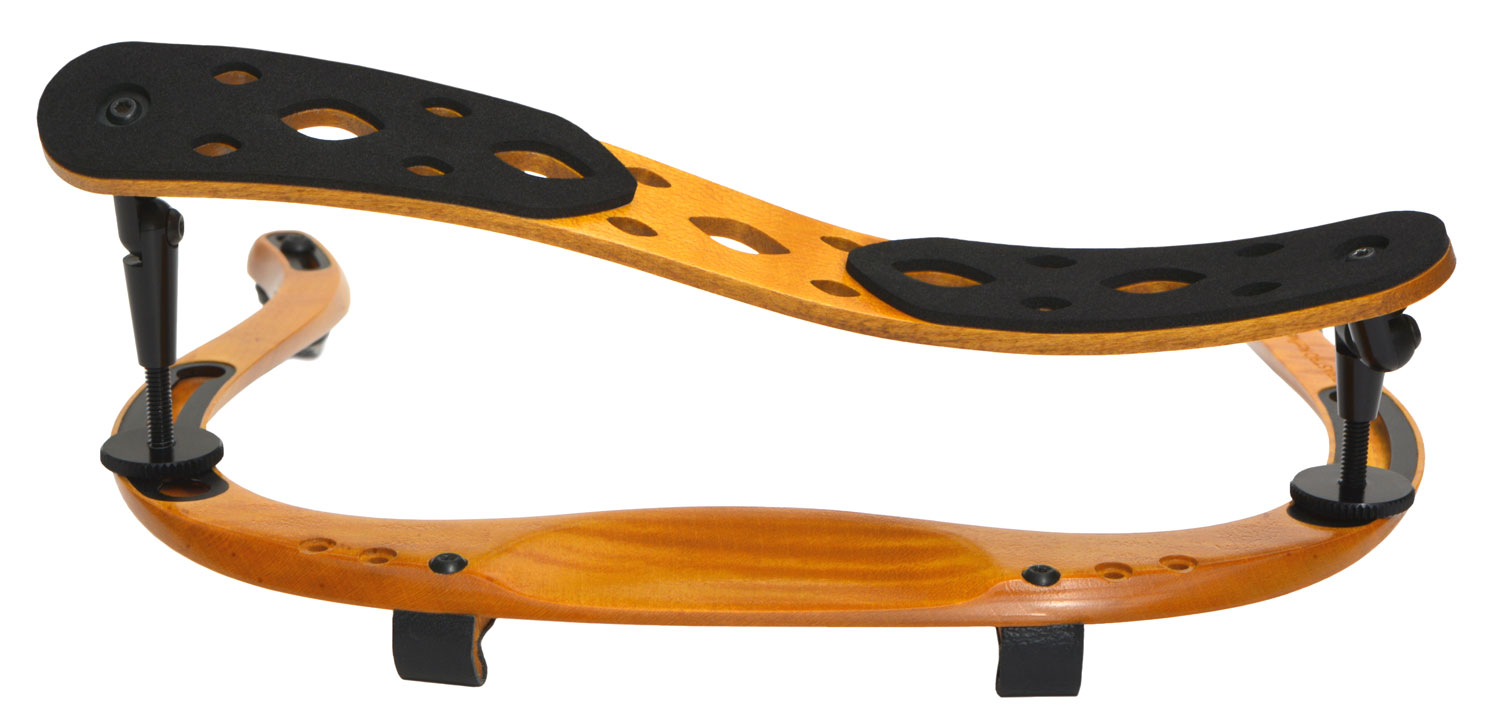
Violin lower on chest
This adjustment positions the violin towards the chest.
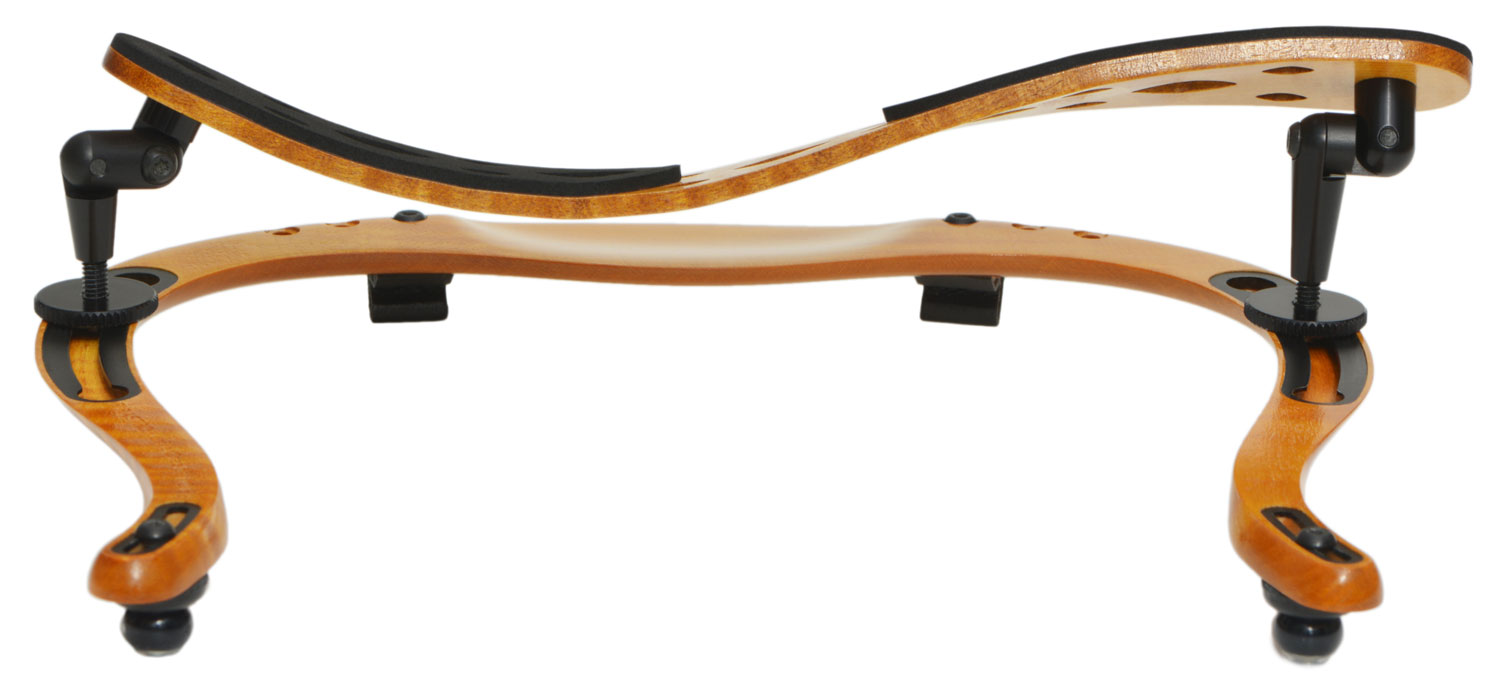
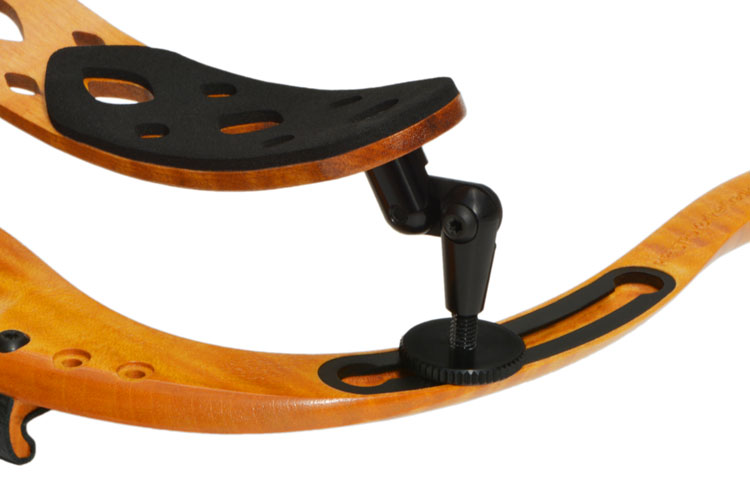
Higher on the shoulder
This adjustment positions the violin higher up the shoulder.
